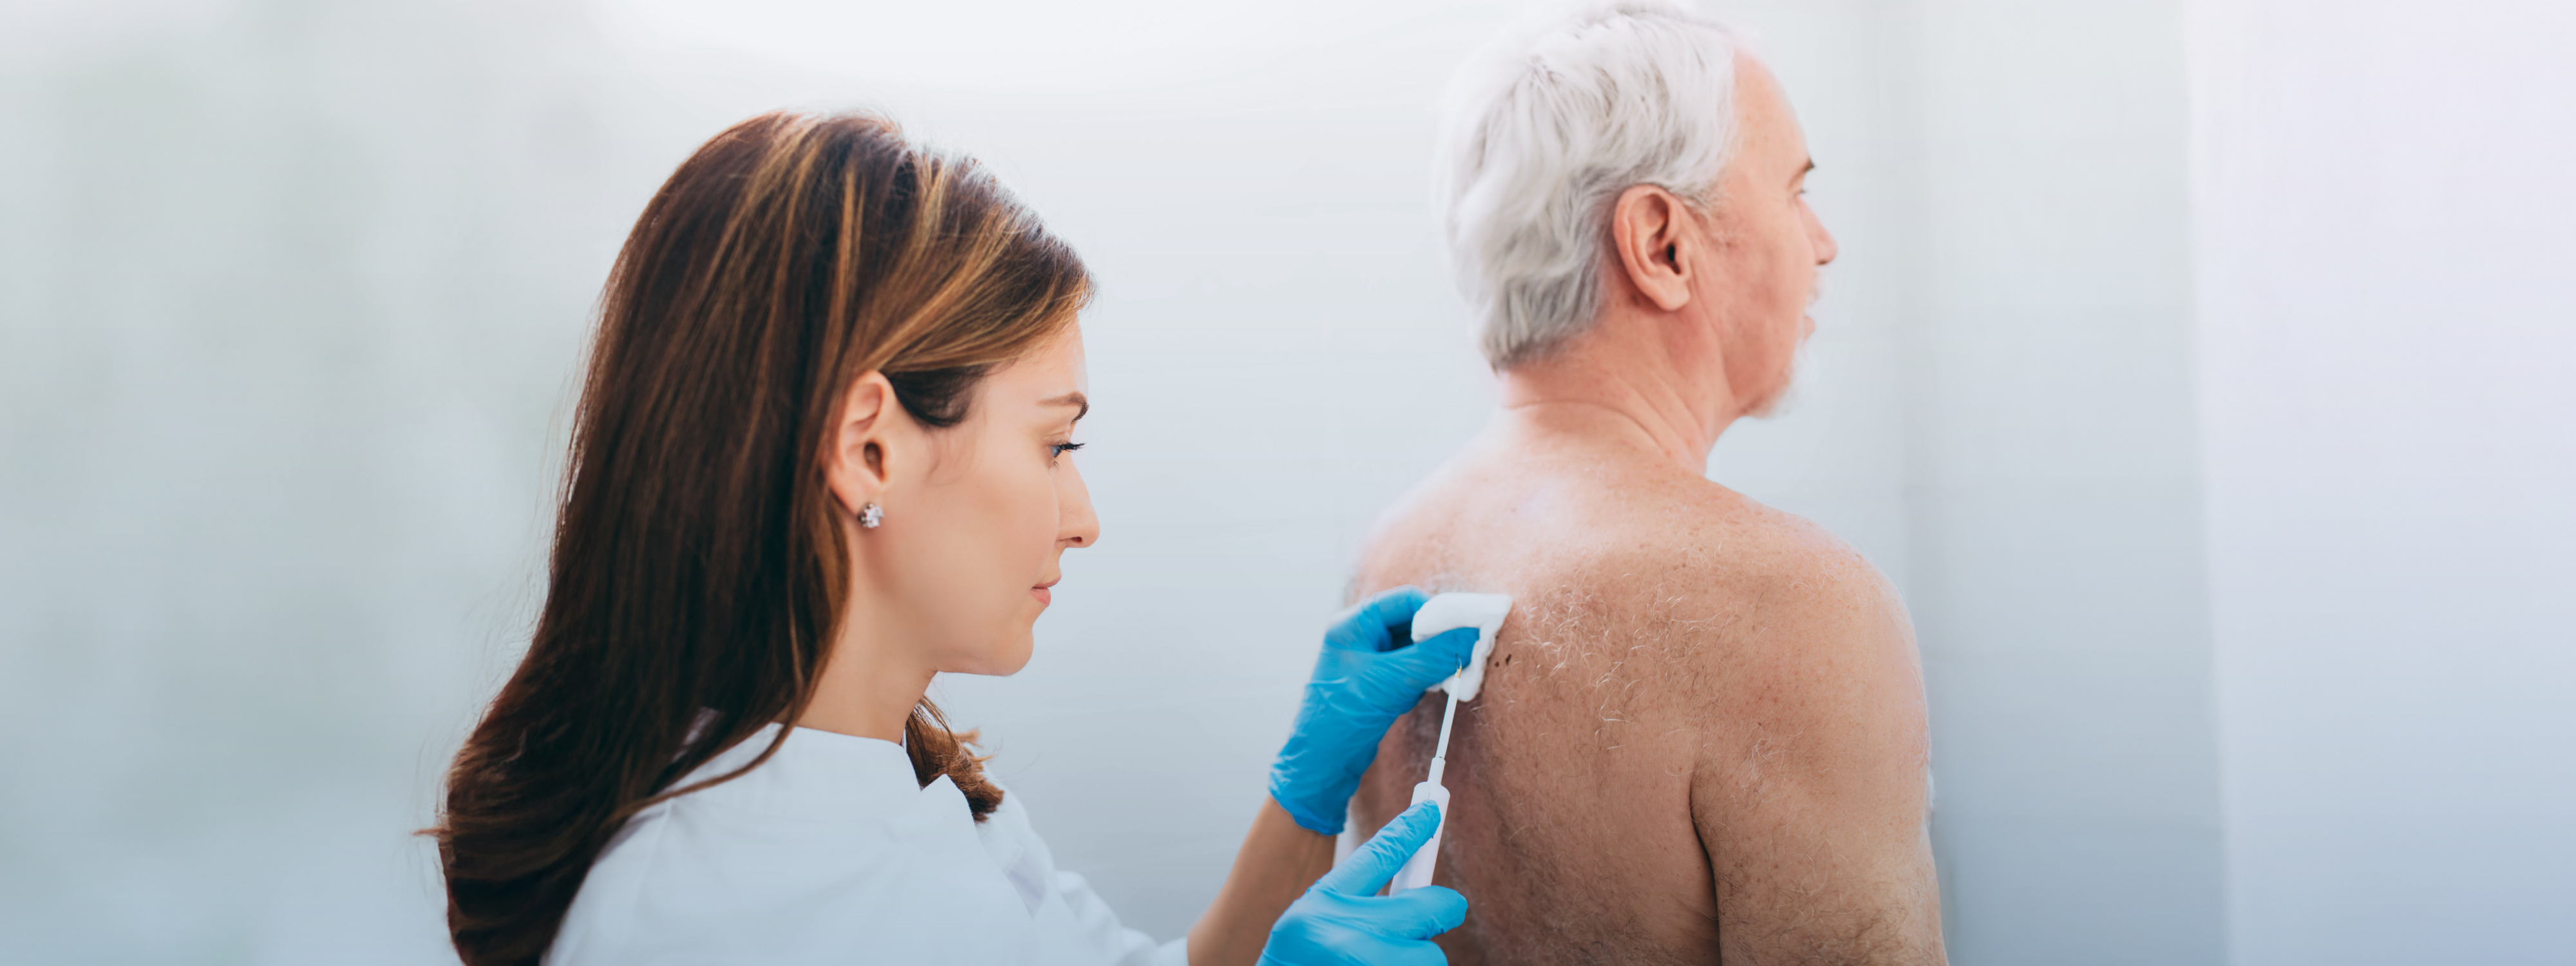
What Are the Different Types of Skin Biopsy?
Dermatologists choose the biopsy technique based on the lesion’s appearance, size, and location. The main types are:
- Shave Biopsy: Involves shaving off the top layer of the skin lesion with a small blade. It’s a quick procedure for superficial lesions and usually does not require stitches.
- Punch Biopsy: Uses a circular tool (like a tiny cookie cutter) to remove a small, deeper core of skin (including all layers). This is often used for diagnosing rashes or sampling small spots. A stitch or two may be needed to close the site.
- Excisional Biopsy: Uses a scalpel to remove the entire lesion or a larger piece of skin. This method is typically done for suspicious moles or tumors and requires stitches to close the area.
All of these methods are performed under local anesthesia to keep you comfortable. Your dermatologist will choose the most suitable type of biopsy and will explain why that method is best for your situation.
What Should You Expect During a Skin Biopsy Procedure?
Knowing what to expect during a skin biopsy can help you feel at ease. Here’s an overview of how it typically works:
- Examination and Numbing: The dermatologist first examines the spot on your skin (often using a dermatoscope for a magnified look) and cleans the area with an antiseptic. Then, a local anesthetic is injected to numb the site. You might feel a quick pinch and sting from the needle, but this numbing medicine will prevent pain during the biopsy.
- Removing the Skin Sample: Once the area is numb, the doctor uses the chosen technique (shave, punch, or excision) to remove a small piece of the skin. You won’t feel pain, though you may sense slight pressure. The actual removal is very quick, usually done in just a few minutes.
- Closing and Bandaging: After the sample is taken, the doctor stops any minor bleeding. If needed, a couple of small stitches will be placed (especially for punch or excisional biopsies) to close the wound. Finally, the site is covered with a clean bandage. You’ll receive instructions on how to care for the area at home.
A skin biopsy is an outpatient procedure, meaning you can go home immediately afterward. The procedure is quick, and our team makes sure you stay comfortable throughout.
What Should You Do After a Skin Biopsy?
Taking care of the biopsy site properly after the procedure will help it heal quickly and reduce any risk of infection or scarring. Key aftercare steps include:
- Keep it clean and covered: Gently clean the area as instructed (usually after the first day) and apply any prescribed ointment. Cover it with a fresh bandage. Good wound care helps prevent infection.
- Avoid strain or soaking: For a few days, avoid activities that might stretch the skin where the biopsy was done. Also, keep the area out of pools, hot tubs, or baths until it heals (showering is usually fine).
- Watch for issues: It’s normal to have mild redness or soreness. If you notice increasing redness, swelling, pus, or bleeding that doesn’t stop, contact your dermatologist. Such signs could indicate an infection or other issue, which is uncommon but should be checked.
Most small biopsy sites heal within one to two weeks. If stitches were used, your doctor will let you know if you need to return to have them removed (often in about a week) or if they will dissolve on their own. As it heals, a small scab will form; let it fall off naturally.
Lab analysis and results: The skin sample removed during the biopsy is sent to a laboratory for histopathology(microscopic examination by a pathologist). In most cases, results are available within about a week or less. Your dermatologist will explain the findings to you once the results are in. If the biopsy confirms a specific condition (for example, a type of eczema or an infection), your doctor will start the right treatment for it. If any cancerous cells are found, your dermatologist will explain the next steps – perhaps removing more tissue from that area or another treatment. Catching any issue early with a biopsy allows you to get proper care promptly.
 8 years of exp